Travis CI is a distributed CI server that builds, tests and deploys the OpenSource project for free. It is fully integrated with GitHub.
So if you are hosting your code on Github, Travis CI will be a great solution to manage the Continuous Integration lifecycle.
Travis CI uses “.”travis.yml” file to manage tasks;
- building
- testing
- deploying
I will show a demo that how to use Travis CI for the Continuous Integration. But if you need more examples please check the documentation.
Travis CI User Documentation
Edit descriptiondocs.travis-ci.com
Step 1: Create .travis.yml file for docker-compose
- How to use Travis CI to run docker-compose?
sudo: required

services:
  - docker

before_install:
  - sudo rm /usr/local/bin/docker-compose
  - curl -L https://github.com/docker/compose/releases/download/${DOCKER_COMPOSE_VERSION}/docker-compose-`uname -s`-`uname -m` > docker-compose
  - chmod +x docker-compose
  - sudo mv docker-compose /usr/local/bin

script:
  - docker-compose build
  - docker-compose up -d


install:
  # Update docker-engine using Ubuntu 'trusty' apt repo
  - >
    curl -sSL "https://get.docker.com/gpg" |
     sudo -E apt-key add -
  - >
    echo "deb https://apt.dockerproject.org/repo ubuntu-trusty main" |
     sudo tee -a /etc/apt/sources.list
  - sudo apt-get update
  - docker version
  # Update docker-compose via pip
  - sudo pip install docker-compose
  - docker-compose version
Step 2: Push newly added file to the Github
#cd /projectDirectory
#git  add .
#git commit -m "TravisCI added"
#git push origin master
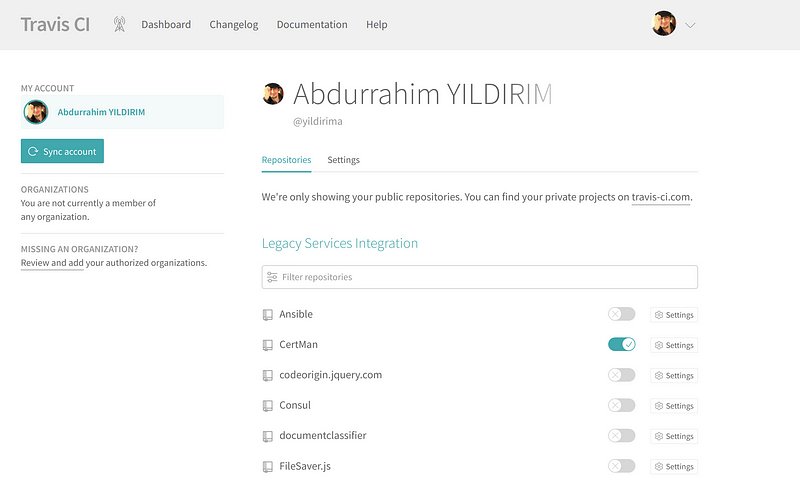
After push codes to Github you need to create an account on Travis CI with your Github user.

You should enable test and deployment for the project that you hosted on Github under the settings tab.

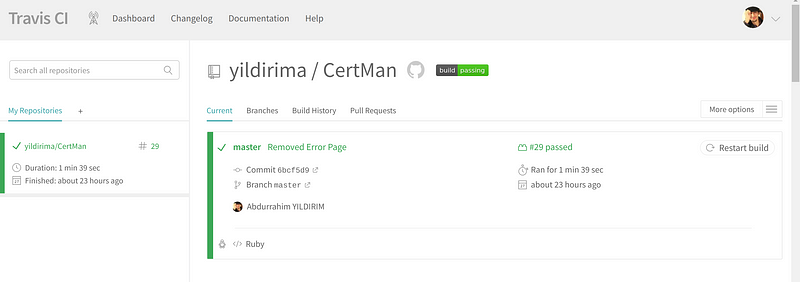
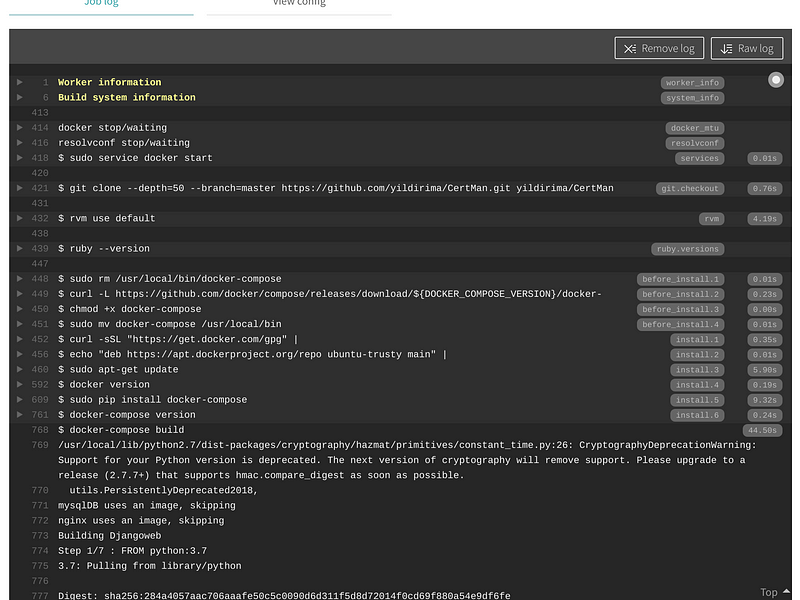
After then build and test steps will be started automatically by Travis CI.


That’s all! Now when you push your code to the Github, Travis CI will automatically test and build your code by .travis.yml file.

