VPN (Virtual Private Network) is a service that lets you access the restricted area and privately by routing your connection through a VPN server. All VPN solutions provide clients with ability to connect to restricted areas with authentication methods.

Pulse Secure is one of the enterprise VPN solutions that provides clients;
- Unifying access control across hybrid IT ecosystems
- Enabling secure remote access to business networks
- Network Access Control with IoT enablement
Linux is one of the most popular operating systems used by developers and also system administrator. If you are using Windows and Linux at same computer like me, sometimes you may need to use Pulse Secure Client on Linux. So at this post I will explain how to install and configure Pulse Secure Client for Linux.
Basically, the installation process has three main steps which same as the Windows agent installation.
- Install binaries
- Install certificates
- Define VPN site
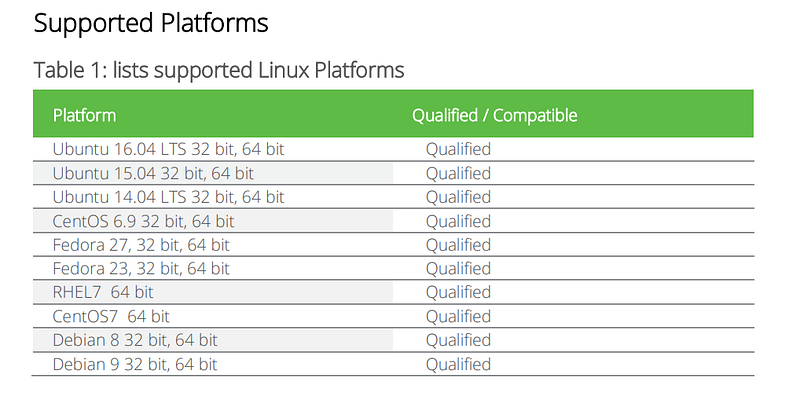
I added a supported Linux platform by Pulse Secure Client.
*New published Ubuntu release (18.04 ) also supported.
Install binaries
You should check this link. Follow the instruction and register your e-mail. Then you will get links to download Pulse Secure Clients.
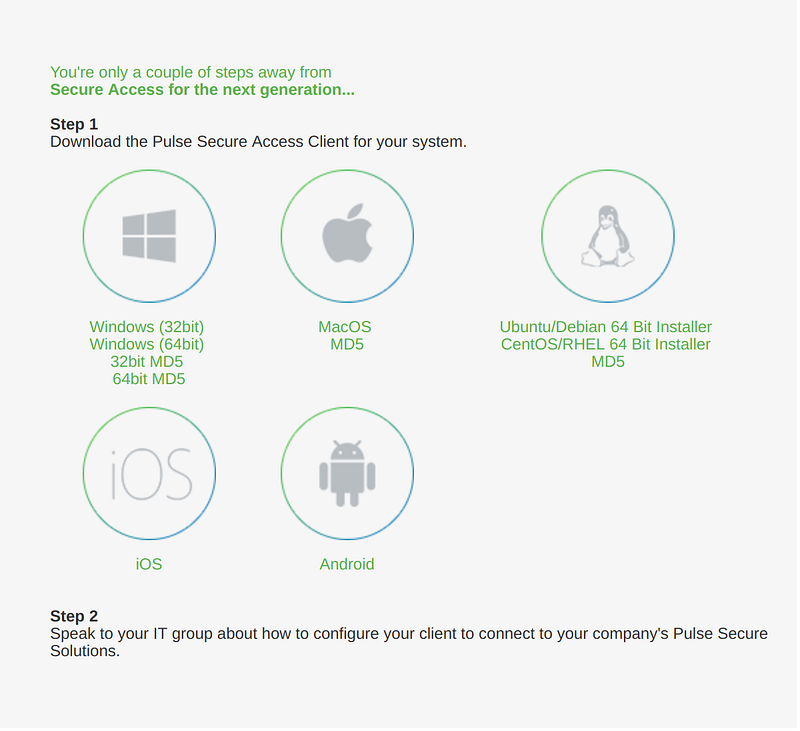
Linux (Ubuntu, Debian):
#dpkg -i ps-pulse-linux-9.0r2.0-b819-ubuntu-debian-64-bit-installer.deb
#/usr/local/pulse/PulseClient_x86_64.sh install_dependency_packages
Checking for missing dependency packages …
Linux (Centos, Fedora, RHEL):
# rpm -ivh ps-pulse-linux-9.0r2.0-b819-centos-fedora-64-bit-installer.rpm
#/usr/local/pulse/PulseClient_x86_64.sh install_dependency_packages
Checking for missing dependency packages …
Install Certificate
You need to download and add VPN SSL certificates to the trusted certificate stores. There are so many ways to get all certificates from the end-user site. One of the easy ways uses a web browser to download all certificates in the chain.
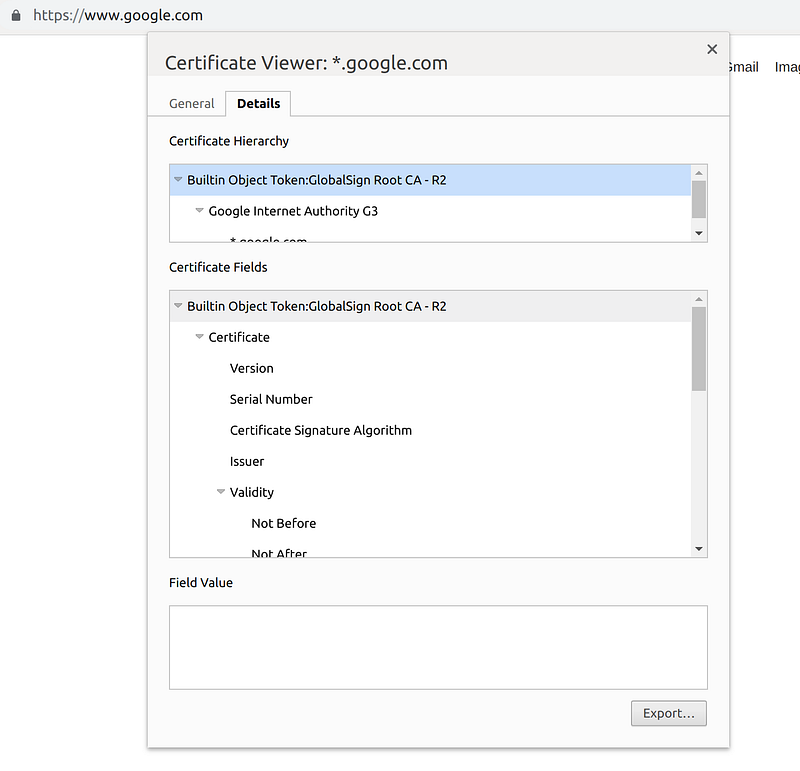
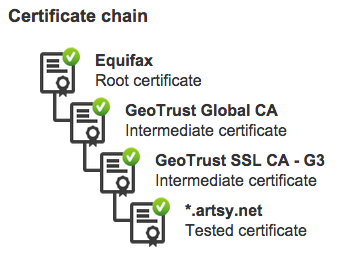
You should export 3 types of certificates from the certificate chain.( Root, Intermediate and End-User Certificate)
Linux (Ubuntu, Debian):
Install the ca-certificate package.
#apt-get install ca-certificates
Copy your CA to /usr/local/share/ca-certificates/
#sudo cp Root.crt /usr/local/share/ca-certificates/
#sudo cp Intermediate.crt /usr/local/share/ca-certificates/
#sudo cp EndUser.crt /usr/local/share/ca-certificates/
Update the CA store.
#sudo update-ca-certificates
Linux (Centos, Fedora, RHEL):
Install the ca-certificate package.
#yum install ca-certificates
Enable the dynamic CA configuration feature.
#update-ca-trust force-enable
Add it as a new file to /etc/pki/ca-trust/source/anchors/
#cp Root.crt /etc/pki/ca-trust/source/anchors/
#cp Intermediate.crt /etc/pki/ca-trust/source/anchors/
#cp EndUser.crt /etc/pki/ca-trust/source/anchors/
Update the CA store.
#update-ca-trust extract
Define VPN
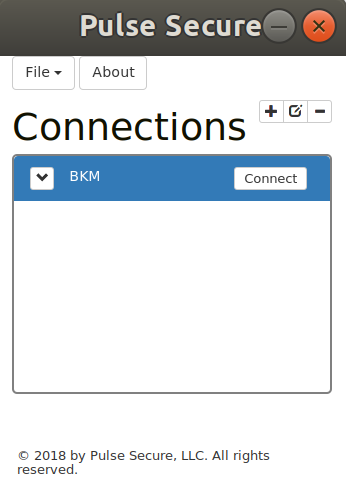
If you complete all tasks without a problem then you need to define your VPN site settings. Run “Pulse Secure” and add your VPN site configuration.
Useful Links:

