Red Hat and Ansible are agreed to creating an open-source project around the Ansible Tower codebases which was named Ansible AWX. The AWX source code is available under the Apache License 2.0. This project is hosted at Github. Ansible is an automation technology for the management of IT environments and deployments. Using Ansible, IT operations teams can more easily deploy IT services, applications, and environments.
Some benefits of Ansible:
- Simple and human-readable configuration and deployment.
- Agent-less integration.
- Host inventory to define different IT infrastructures.
- A motivated and growing community that brings different modules and use cases.
- Handling dynamic inventories in a simple way.
- Open-source License.
In this post, we will start the installation of AWX on top of OpenShift Origin. In the next post, I will show how to use Ansible to manage Apache Configuration and deployment.
Pre-Requirements:
- OpenShift Origin
- Ansible installed server
- OpenShift CLI package
- Install Git to push a project
Steps To Install Ansible AWX
Step 1: Download Ansible Project from Github
We need to install Ansible one of the server that we use for installation. I will perform all installation steps at the OpenShift master node. So Ansible and OpenShift CLI package will be already installed.
[root@master01 installer]# ansible  --version
ansible 2.6.9
  config file = /etc/ansible/ansible.cfg
  configured module search path = [u'/root/.ansible/plugins/modules', u'/usr/share/ansible/plugins/modules']
  ansible python module location = /usr/lib/python2.7/site-packages/ansible
  executable location = /bin/ansible
  python version = 2.7.5 (default, Oct 30 2018, 23:45:53) [GCC 4.8.5 20150623 (Red Hat 4.8.5-36)]
[root@master01 installer]# oc version
oc v3.11.0+62803d0-1
kubernetes v1.11.0+d4cacc0
features: Basic-Auth GSSAPI Kerberos SPNEGO
#mkdir  /appdata/
#cd /appdata/
#git clone https://github.com/ansible/awx.git
#cd awx/installer
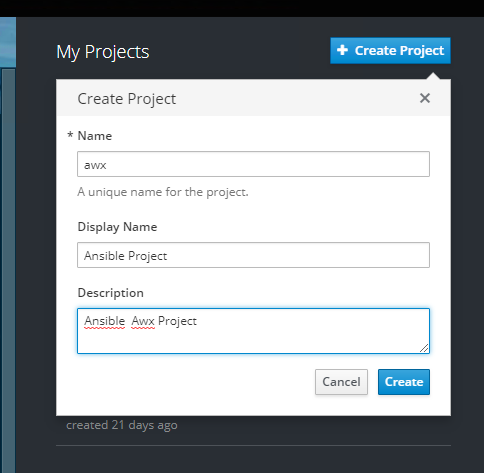
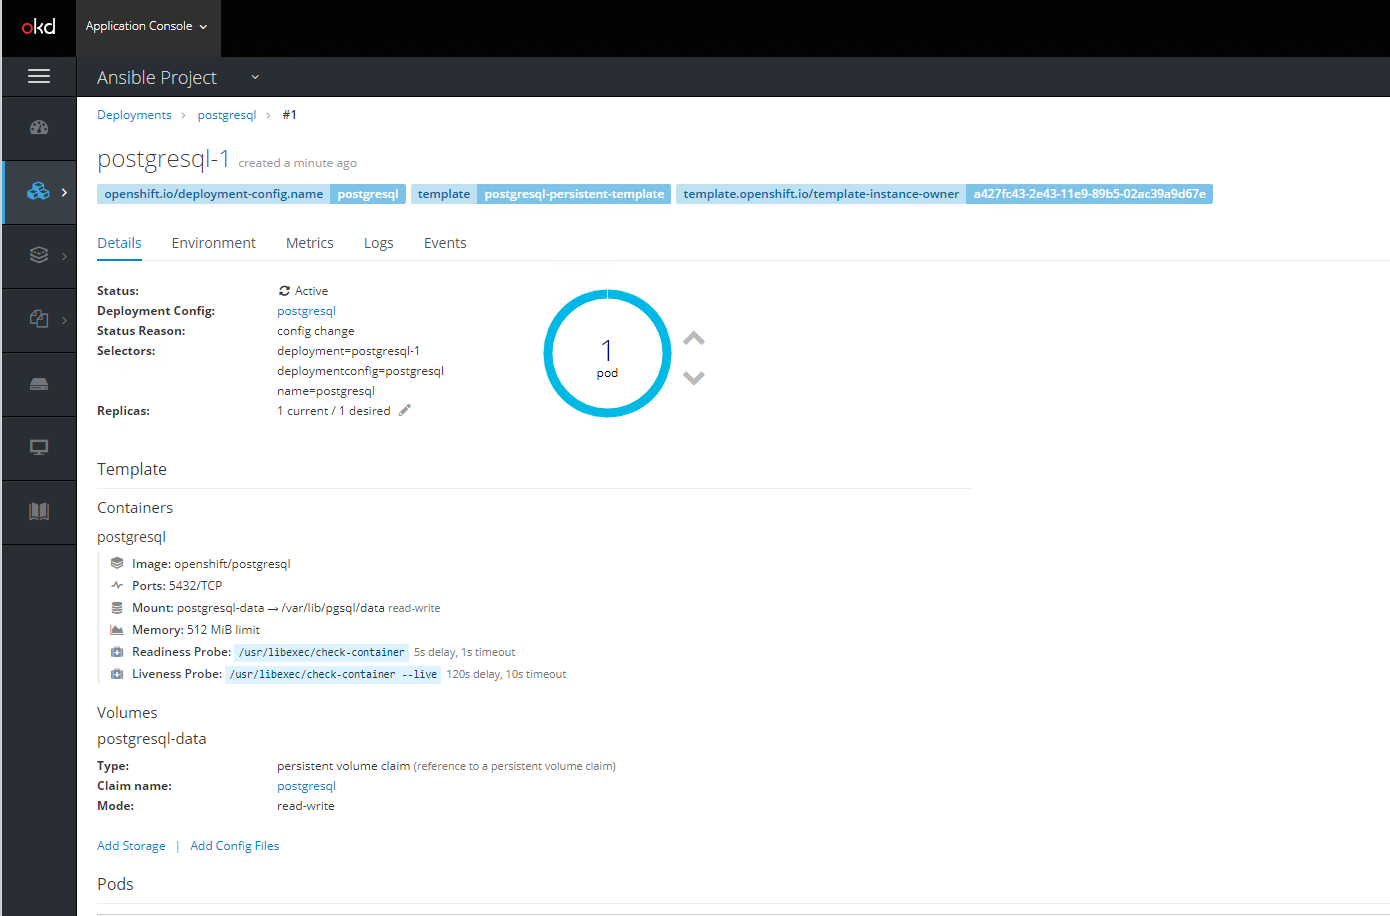
Step 2: Create an OpenShift AWX project and PostgreSQL service
- Create a Project named “awx”
- Create PostgreSQL database with these configuration settings. You should keep these parameters to add an inventory file later.
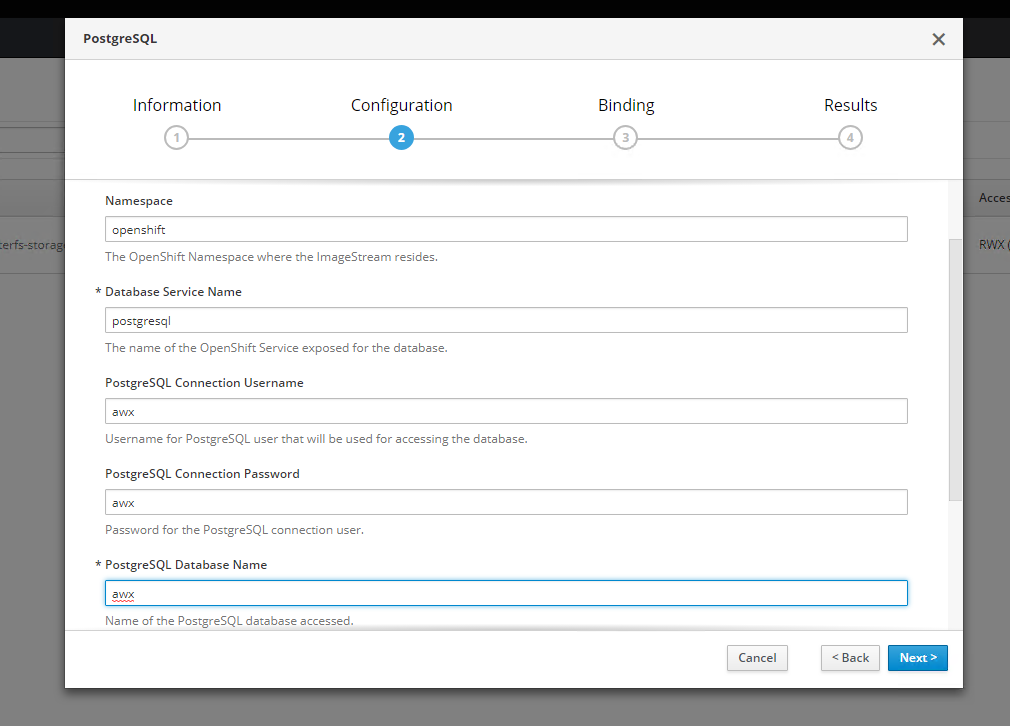
Database Service Name: postgresql
Database Connection Username: awx
PostgreSQL Connection Password: awx
PostgreSQL Database Name: awx
Step 3: Configure Inventory File
The default inventory file will be located under the installer directory. Uncomment and change only the parameters that you need to use. I downloaded binary files under “/appdata/”. So my inventory file will be located “/appdata/awx/installer/”. Also, you can download the inventory file which I used at this post from that link.
#cd /appdata/awx/installer/inventory
#vi /appdata/awx/installer/inventory
openshift_host=console.openshift.domdom.local:443 #OpenShift web console FQDN and  Port
openshift_project=awx #OpenShift project name which was created at step 2
openshift_user=development #OpenShift web console username
openshift_password=development #OpenShift web console password
openshift_skip_tls_verify=True #Define  true  if your web console ceriticate  is  untruested.
pg_hostname=postgresql.awx.svc #PostgreSQL service name -Applications > Service > postgresql > Hostname
pg_username=awx   #postgresql username
pg_password=awxpassword #postgresql password
pg_database=awx #postgresql database name
pg_port=5432 #postgresql port
Step 4: Execute the Installation with Ansible
#cd /appdata/awx/installer/
#ansible-playbook -i inventory install.yml
Step 5: Add a persistent volume to AWX-Celery
After installation, we need to define a persistent volume to AWX-Celery.
[root@master01 installer]# oc  login
Authentication required for https://console-int.openshift.domdom.local:443 (openshift)
Username: development
Password:
Login successful.
You have access to the following projects and can switch between them with 'oc project <projectname>':
* awx
Using project "awx".
[root@master01 installer]# oc get statefulset
NAME      DESIRED   CURRENT   AGE
awx       1         1         10m
[root@master01 installer]#
Set running statefulset replicas to “0” for awx.

[root@master01 installer]# oc get statefulset
NAME      DESIRED   CURRENT   AGE
awx       1         1         10m
[root@master01 installer]# oc scale --replicas=0  statefulsets awx
statefulset.apps/awx scaled
[root@master01 installer]# oc get statefulset
NAME      DESIRED   CURRENT   AGE
awx       0         1         12m
[root@master01 installer]# oc get statefulset
NAME      DESIRED   CURRENT   AGE
awx       0         0         12m
[root@master01 installer]#
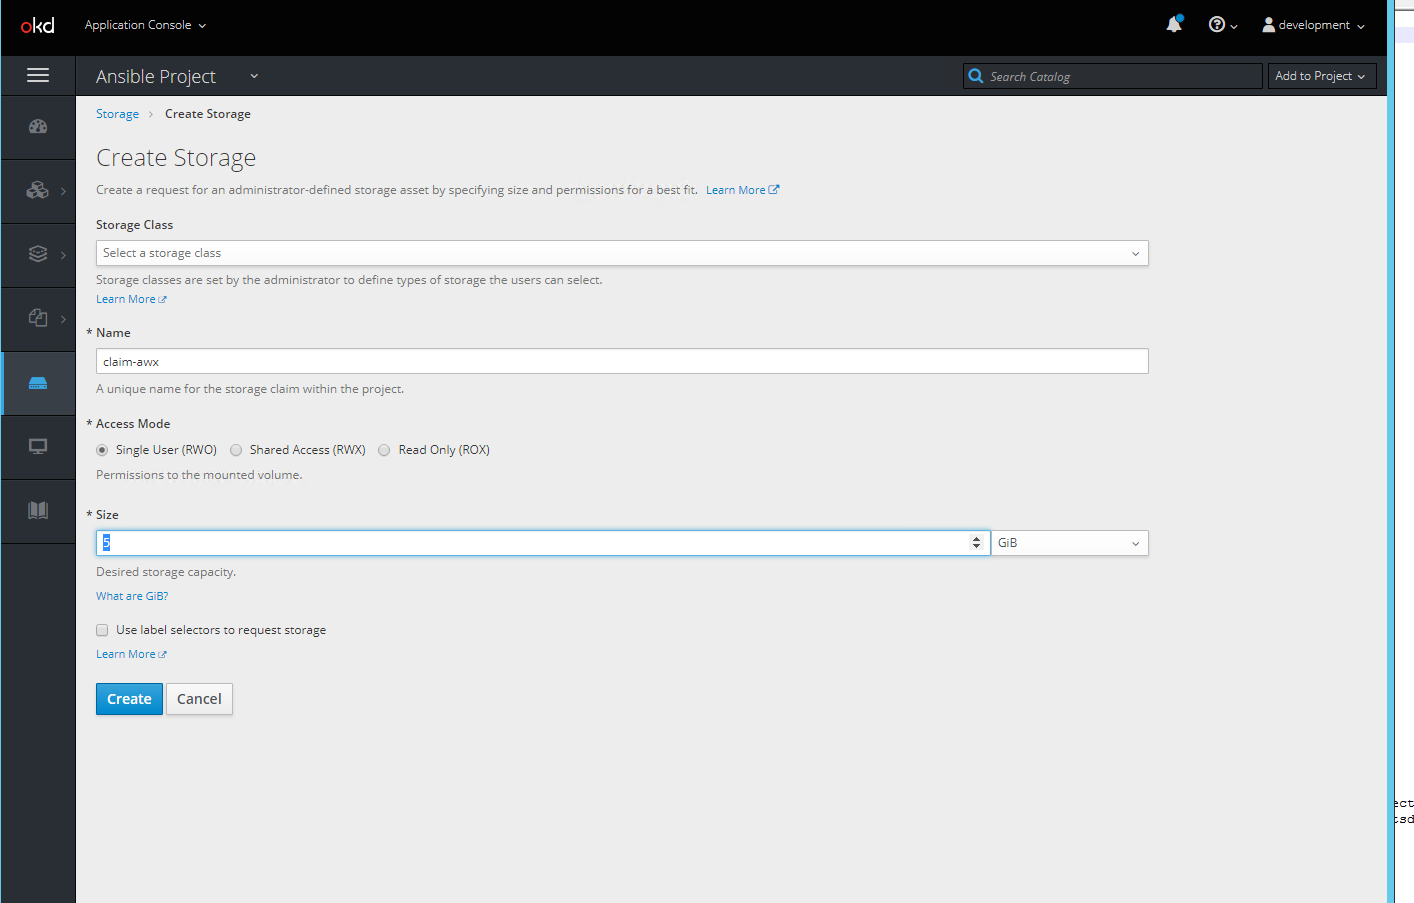
You should create a persistent volume claim for the “awx-celery”. First, use the web console to create a PVC named “claim-awx” then run these commands for volume.
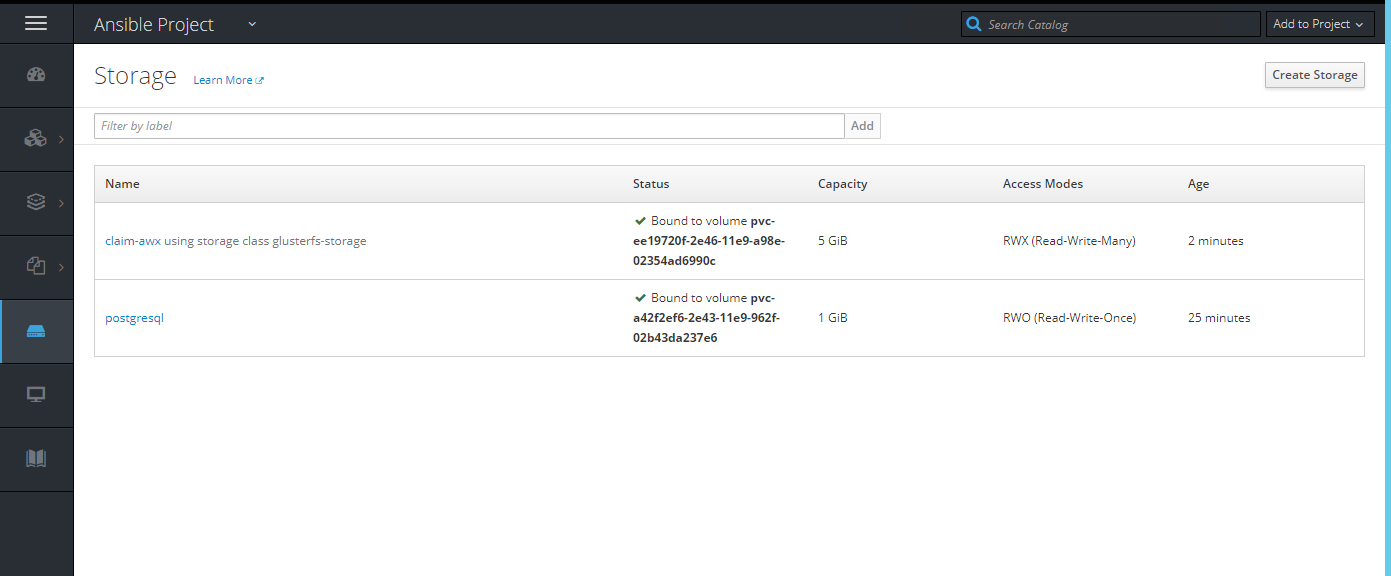
[root@master01 installer]# oc  patch statefulsets awx -p '{"spec":{"template":{"spec":{"volumes":[{"name":"awxprojectsdata","persistentVolumeClaim":{"claimName":"claim-awx"}}]}}}}'
statefulset.apps/awx patched
[root@master01 installer]# oc  patch statefulsets awx -p  '{"spec":{"template":{"spec":{"containers":[{"name":"awx-celery","volumeMounts":[{"mountPath":"/var/lib/awx/projects/","name":"awxprojectsdata"}]}]}}}}'
statefulset.apps/awx patched
[root@master01 installer]# oc scale --replicas=1  statefulsets awx
statefulset.apps/awx scaled
[root@master01 installer]# oc get statefulset
NAME      DESIRED   CURRENT   AGE
awx       1         1         24m
[root@master01 installer]#
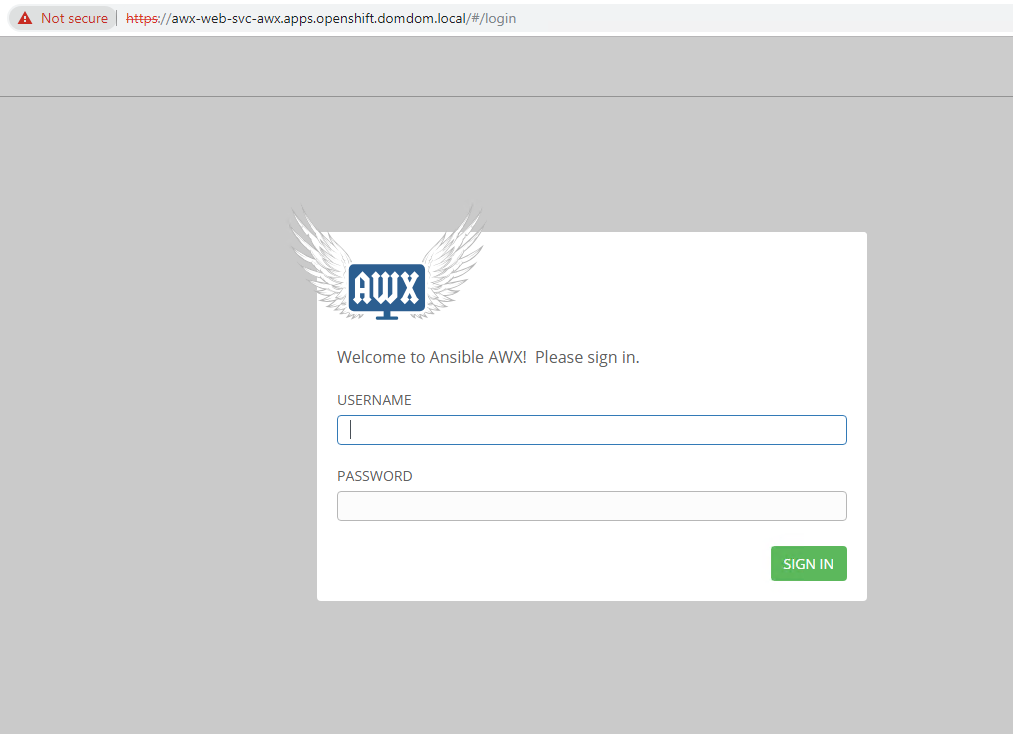
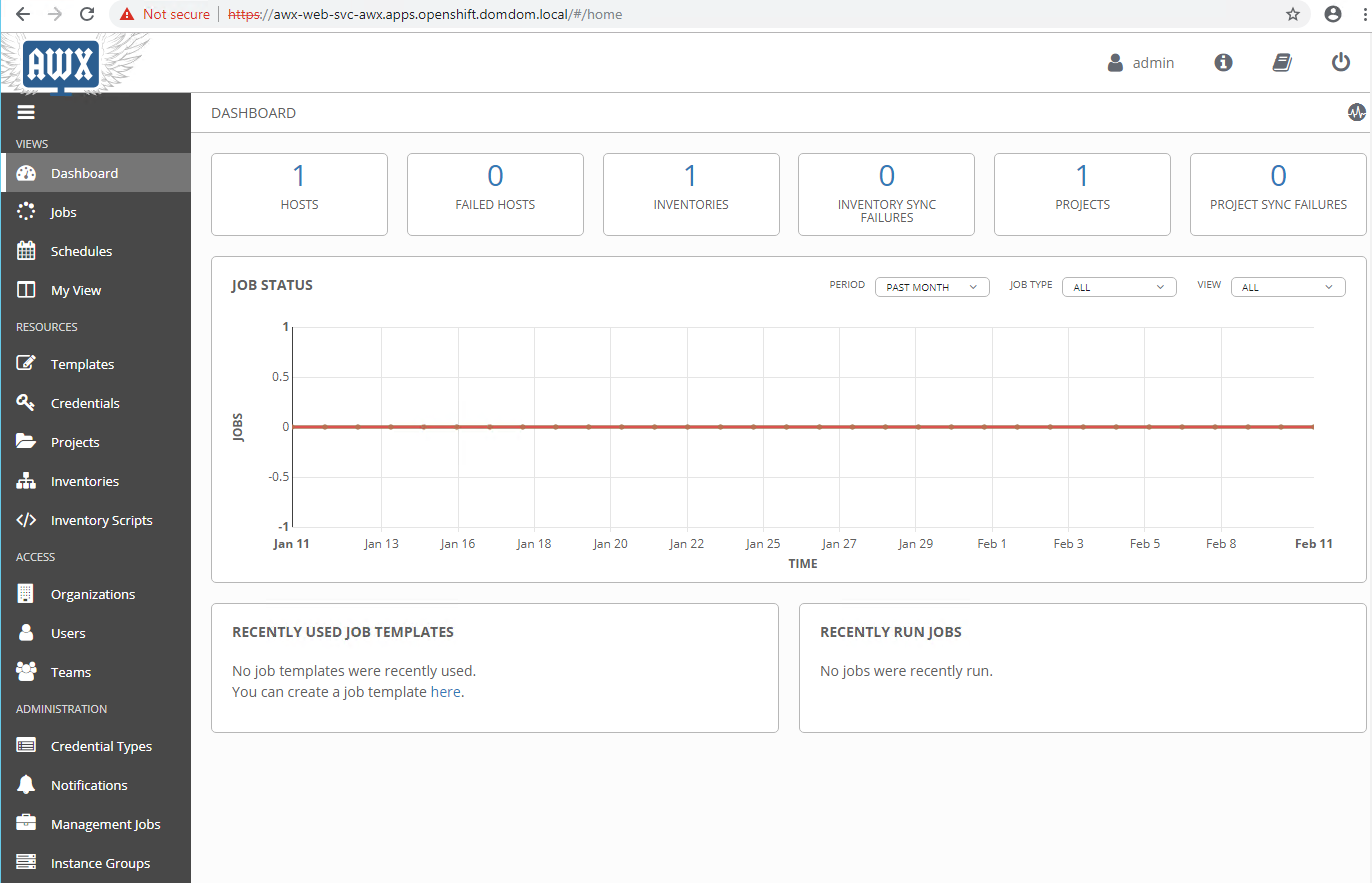
That’s all. You can access URL and then login with the default username and password.
Default username: admin
Password:password